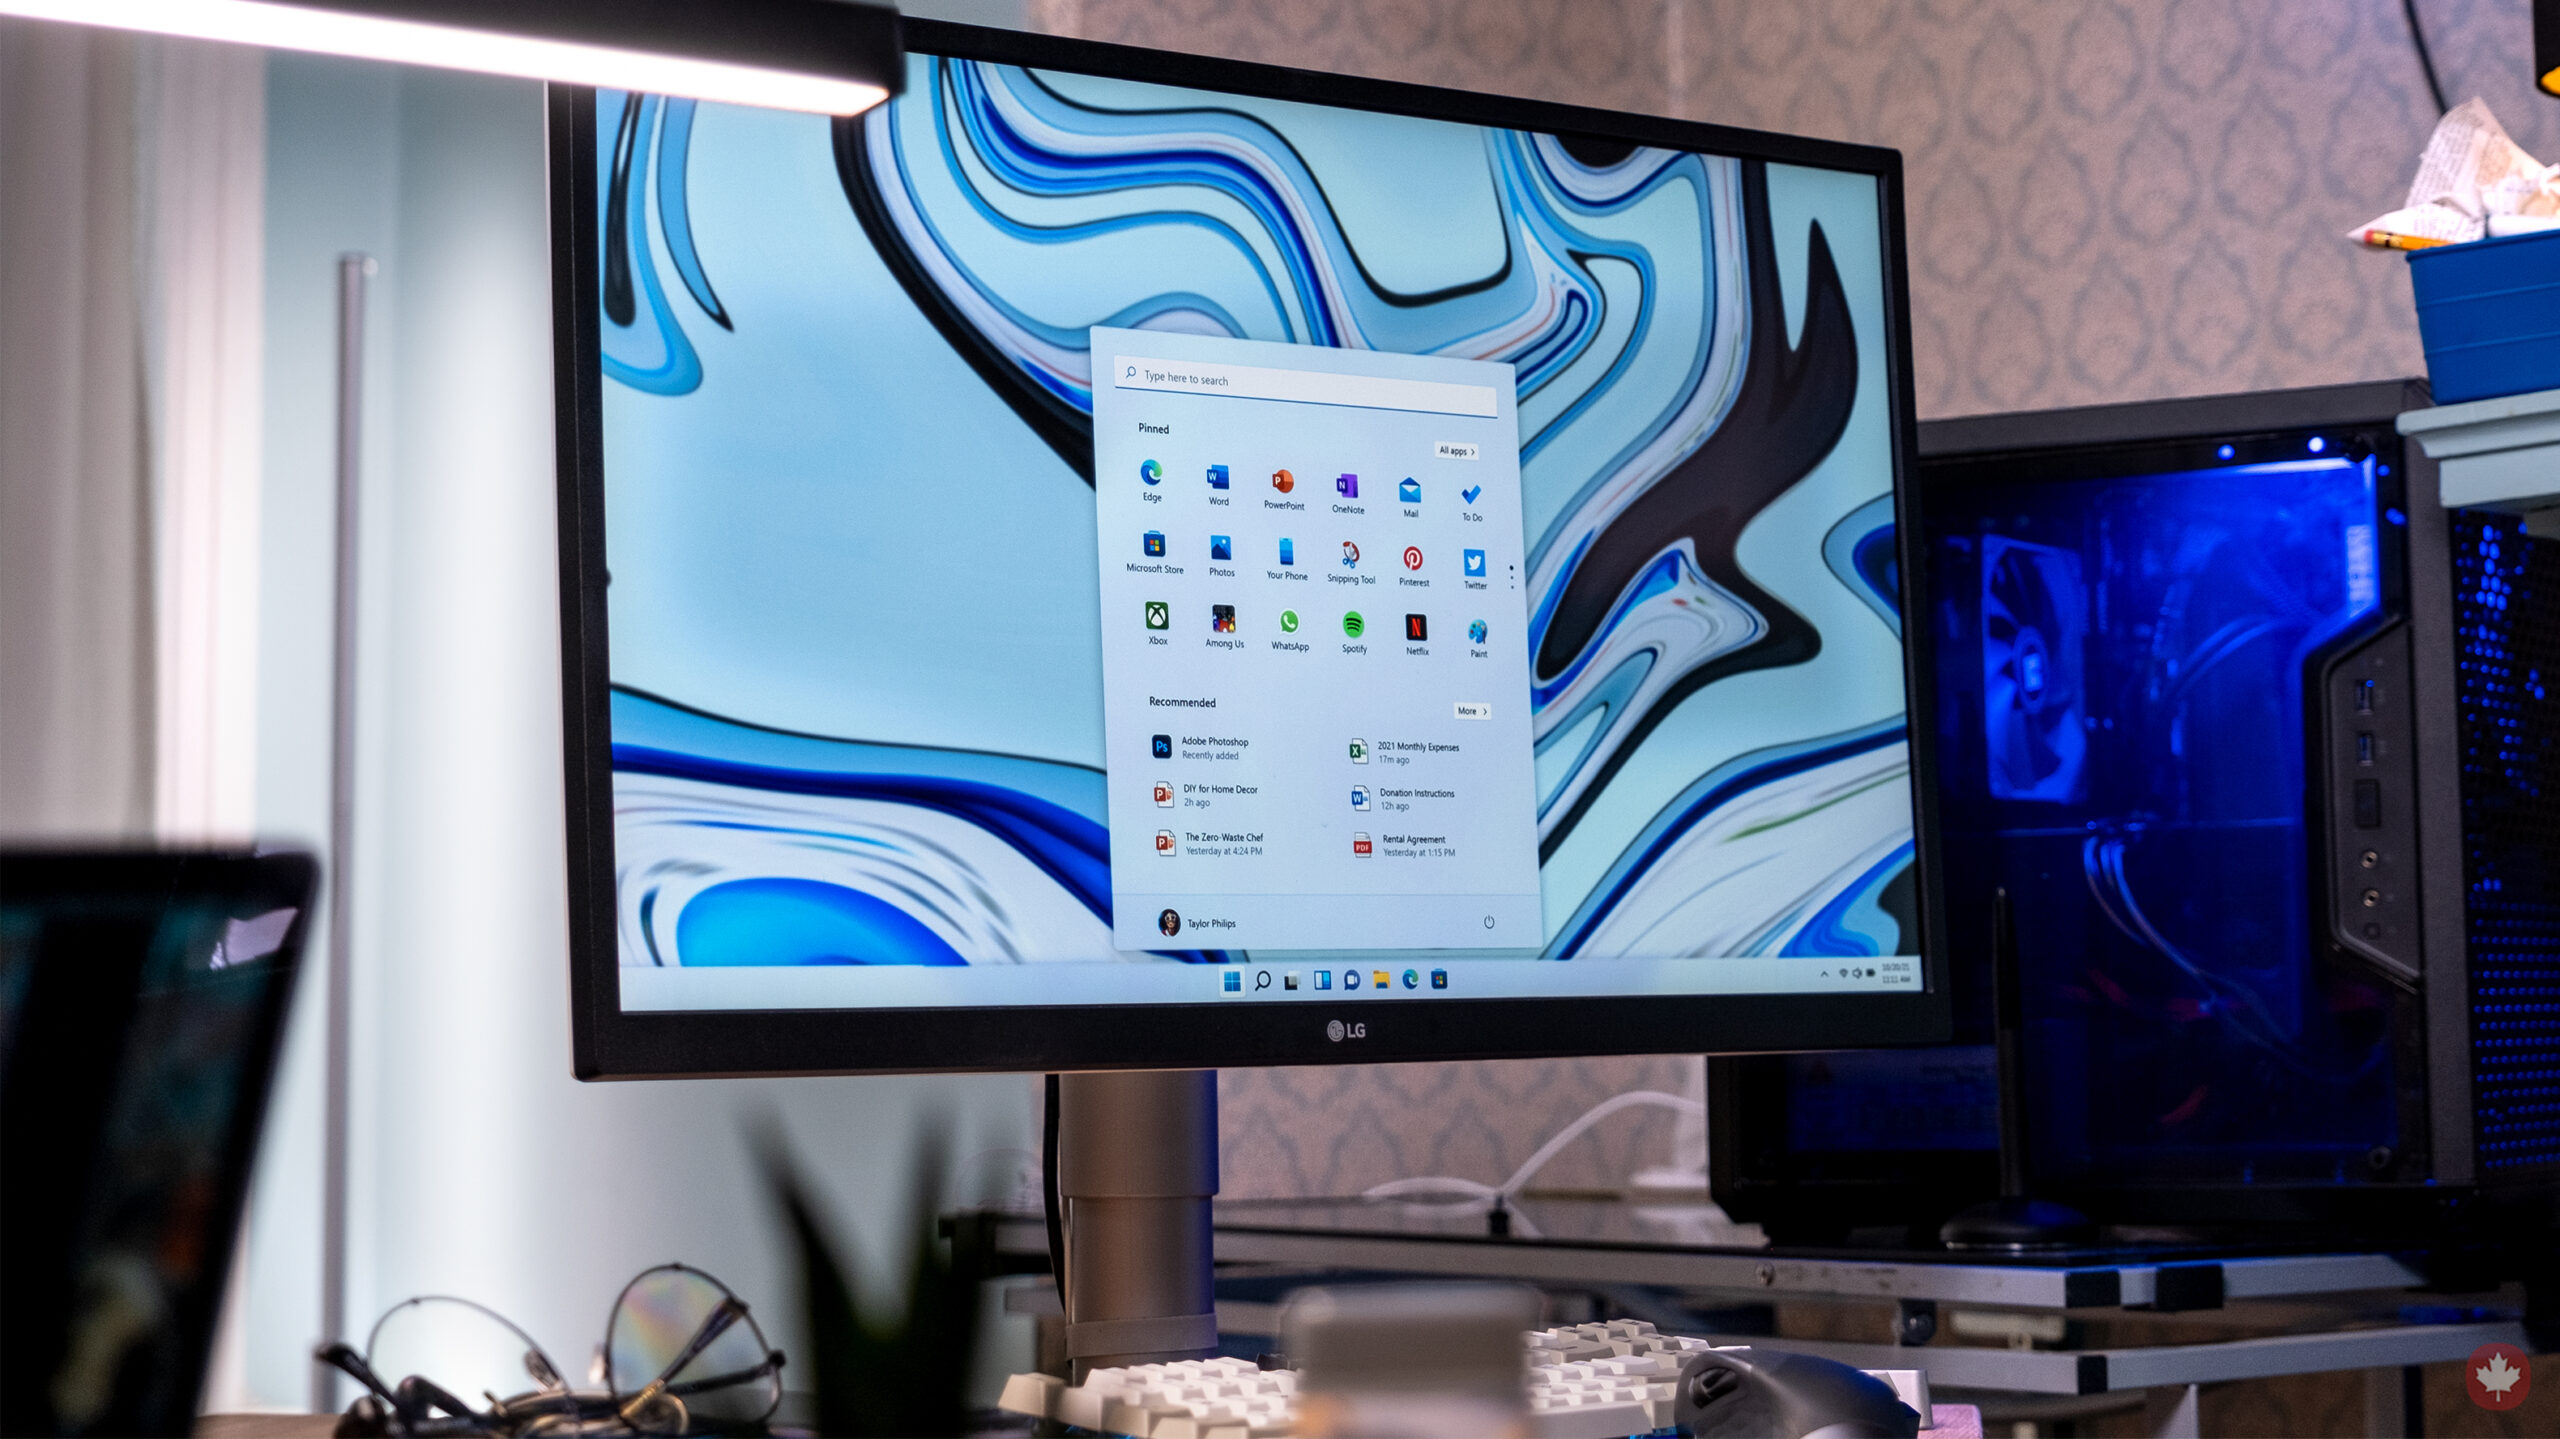
Formatting a PC with Windows 11
-
Insert the Windows 11 installation media, such as a USB drive or DVD, into your computer.
-
Restart your computer and enter the BIOS or UEFI firmware settings to boot from the installation media.
-
Once the installation media loads, select your language preferences, and click "Next".
-
Click "Install now" to start the installation process.
-
Read and accept the license terms, then click "Next".
-
Choose the "Custom: Install Windows only (advanced)" option.
-
Select the drive you want to format and click "Delete". This will erase all data on the selected drive.
-
Once the drive is deleted, select the unallocated space and click "New" to create a new partition.
-
Follow the prompts to set up your new Windows 11 installation, including creating a user account and choosing your settings.
-
Once the installation process is complete, remove the installation media and restart your computer.
Your PC should now be formatted with Windows 11 installed. Remember to reinstall any necessary software, drivers, or updates after the formatting process is complete.


